Full Guide to Configure Netgear Orbi 960 Mesh WiFi System
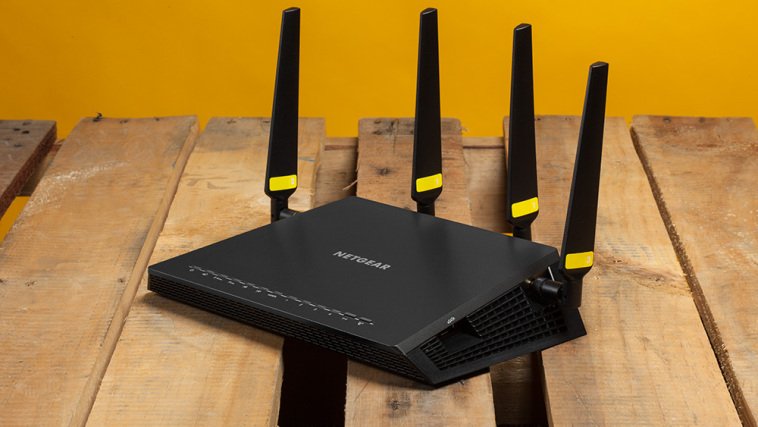
Many people are paying attention to the newcomer in the market for WiFi devices, the Orbi 960. The Quad-Band Mesh WiFi 6E system is a great choice if you’re looking for consistent, lag-free network access across your home.
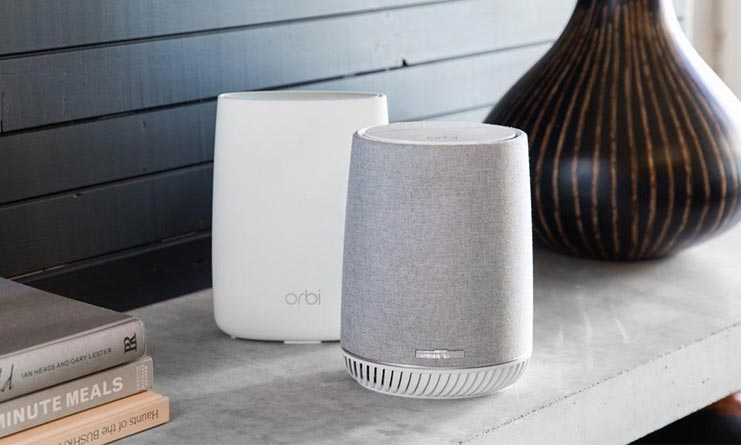
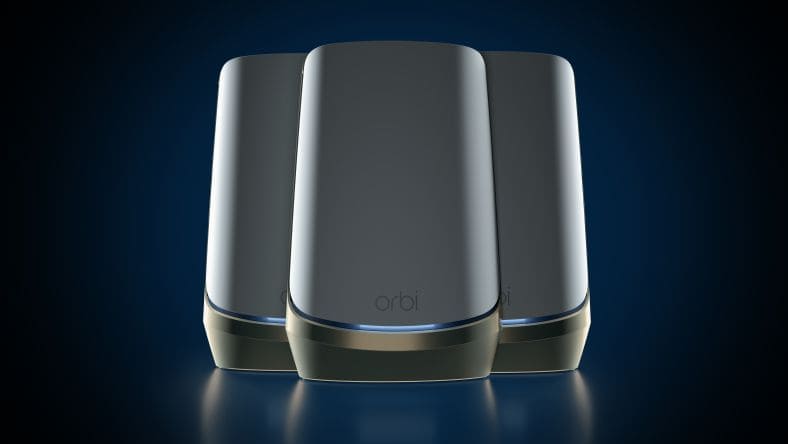
Streaming videos and playing online games will go smoothly after you connect your Orbi 960 router (RBRE960) to your modem. And to ensure that WiFi can reach every nook and corner of the house, the company has also released the Orbi 960 satellite (RBSE960).
The Orbi 960 Mesh WiFi system can be set up and used to its full potential with the help of the detailed instructions provided in this blog. The moment to start configuring the Orbi 960 is now. Read on.
What All You Need to Know About Orbi 960 Setup?
Both the manual setup process and an app-based setup are available for Orbi 960 routers. A rundown of the manual procedure is provided below to aid consumers in getting their devices up and running quickly and easily.
Setup Netgear Orbi 960 Mesh WiFi System Manually
- Prepare a spot for your new Orbi 960 router once you’ve taken it out of the box. Before starting the installation process, make sure your modem is ready to work.
- Connect the Orbi 960 to the power socket and power it on.
- The next step is to see whether an Ethernet cable was included in the box.
- Connect the modem and the Orbi 960 router using the cable.
- Apply pressure with your fingertips to the connection to make it more secure.
- Step two is to fire up your preferred web browser and go on over to orbilogin.com.
- After then, your Orbi Mesh system will prompt you to sign in.
- Use the default username and password to access your Orbi, then click Log In.
- When the Orbi 960 setup wizard loads, you may begin setting up your device.
The Orbi 960 router can be set up in this manner. You should now connect your Orbi 960 satellite to your router. Follow these steps to do so.
How to Connect Orbi 960 Router to Satellite?
- The Orbi 960 satellite should be placed within range of the main Orbi router.
- To turn on the device, insert the adapter into a wall outlet.
- Your Orbi 960’s satellite LEDs will begin blinking in a few moments.
- Push the Sync button on each device to sync them.
- Thereafter, to set up an Ethernet connection between the Orbi 960 router and the Orbi satellite, plug one end of an Ethernet cable into a port of the router and the other end into the port of the satellite.
That way, you may connect and make all the devices in your house access the internet wherever you go.
What’s More?
Some customers have reported problems setting up their Orbi 960 WiFi Mesh system at home. If you are having problems setting up the device as well, the troubleshooting hacks mentioned below may help.
How to Fix Netgear Orbi 960 Setup Issues?
- To begin, make sure every cable you use to link your devices is in good working order. Consider replacing the cable if you see any signs of wear. In case you don’t have an additional cable, you may still connect your devices wirelessly by remembering the current status of the LEDs.
- Second, while visiting the orbilogin URL, only the most recent version of the supported web browser should be used. If you are attempting to setup your Orbi but are using an outdated web browser, you may be unable to access the login page.
- Thirdly, if there is anything in the path of your router or satellite, it might affect how well they work. As a result, you should position your Orbi router and satellite such that they are out of the line of sight of any device that might cause WiFi interference.
- The fourth piece of advice is to position your Orbi router and satellite in close proximity to one another, in an open area, and preferably atop a higher surface. You may then have uninterrupted use of your WiFi network.
Conclusion
Our guide based on how to configure a Netgear Orbi 960 Mesh WiFi system has ended here. With any luck, you’ll be able to set up the device without any more difficulty.