
How to Do BETA.IOT WiFi Repeater Setup?
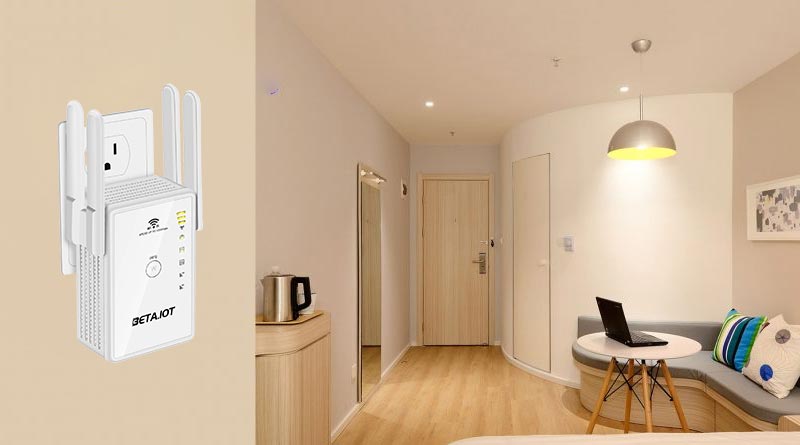
The BETA.IOT WiFi repeater is known for extending the existing router’s WiFi coverage over long-distance areas of your home. When users are done with BETA.IOT WiFi repeater setup, it provides a strong WiFi signals to access on their devices.
Moreover, the repeater also helps in eliminating WiFi dead zones in the home, providing uninterrupted WiFi signals to enjoy in your terrace garden, storeroom, lobby, restroom, backyard, or courtyard of your home.
Though for this, you have to set up the extender. And, BETA.IOT WiFi repeater setup process can be done using two simple methods.
Methods to Perform BETA.IOT WiFi Repeater Setup
- Web-based setup (manual method)
- And, the WPS method
Although the setup process of the WiFi repeater is effortless using the WPS method. But, you must have a WPS-capable router. Don’t worry if your router doesn’t have the WPS button on it, you can also use the web-based setup i.e. the manual method to set up the repeater.
Here, in this post, we will provide you instructions to set up the repeater using both the methods. Here we go!
BETA.IOT WiFi Repeater Setup|Manual Method
Step 1: First things first, unbox the extender/repeater carefully. Make sure that the device has come with power adapter, Ethernet cable, power cord, and all above, the antennas.
Step 2: Install the antennas. You have to adjust the positions of the extender’s antennas accordingly.
Step 3: Using an Ethernet cable, connect your WiFi range extender to your existing router firmly.
Step 4: Once you are done applying the above-mentioned steps, connect one end of the power adapter into your BETA.IOT WiFi repeater backside and other end into a working power outlet. Ensure that the outlet you have chosen for your device is supplying continuous electricity to it.
Step 5: Turn on a computer or laptop and access the BETA.IOT WiFi repeater’s WiFi.
Step 6: Thereafter, open any internet browser of your choice and type 192.168.188.1 in the URL bar.
If you want to prevent 192.168.188.1 not working issue, just ensure that the extender’s IP is:
- Not input in the browser’s search bar
- Entered without typing errors
Moreover, prior to using the web browser for logging in to the WiFi range extender and for setting it up you must update it and clear its browsing history.
The Ball is in Your Court!
Step 7: Press the Enter key and in a meanwhile, the BETA.IOT WiFi repeater login page will appear.
Step 8: You can see 2 fields “username” and “password” (without quotes). Here, you have to input the default login details of your device, and then click on the Login button.
Step 9: The web-based setup page of your WiFi repeater displays.
Step 10: Click on Quick Setup > Next button.
Step 11: Implement a couple of on-screen instructions, and in the end, click on Save to make changes effective.
That’s it! BETA.IOT WiFi repeater setup process is successfully completed using the manual method. You are all set to enjoy seamless internet connectivity all over your house. You just need to access the SSID of your device!
BETA.IOT WiFi Repeater Setup|WPS Method
If you don’t want to use the manual method to set up your WiFi range extender, then go with the simple one i.e. the WPS method.
Step 1: Ensure that your WiFi range extender is plugged in properly.
Step 2: Then, press the WPS button on the repeater.
Step 3: Wait for a few minutes.
Step 4: Press the WPS button on your router.
And, with that, the process to do BETA.IOT WiFi repeater setup using the WPS method ends here. Now, you will experience the change yourself that all the WiFi dead zones in your home are already gone away.
Endnote
Now, we will conclude our blog post on how to do BETA.IOT WiFi repeater setup. We really hope that this particular piece of writing help you set up your extender while relaxing on your couch.