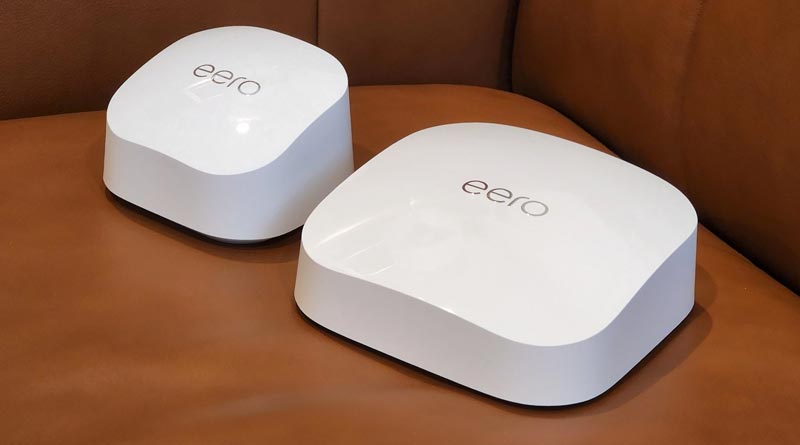
Eero WiFi Extender Setup: Easy-to-Execute Instructions
Accessing an extremely fast internet connection in 2023 has become a daunting task with traditional WiFi devices. The reason being, they are not able to transmit signals in every corner of large apartments. Keeping this in mind, people go for Eero WiFi extender setup. FYI, like every range extender, those brought in by Eero are also known for extending the signals emitted by the host networking device. The best thing about these wireless range extenders is that they can be easily installed with the help of a mobile application.
But, it has been noticed that 70% of Eero users are unable to make their extenders up and running because of their lack of knowledge. In case you are also looking for instructions regarding the same, then thankfully, this write-up has got you covered. Here, you will get to know about the complete steps to install your wireless range extender. Keep reading.
Before You Start Eero WiFi Extender Setup
Learning what is necessary to install your WiFi range extender will make it possible for you to go through the process easily in real-time. Let’s first make you familiar with the contents you will receive inside the extender packaging.
Inside the Package
- Your brand new Eero WiFi range extender
- An Ethernet cable
- A Power cord [if applicable to the extender model you purchase]
What You’ll Need to Set Up Eero Extender?
After getting familiar with the extender’s packaging, it is time for you to learn about prerequisites to achieve Eero WiFi extender setup success. For this, walk through the following points:
- Eero iOS or Android application
- iOS version up to 15.0 and Android OS version up to 9.0
- Mobile device with an active internet package
- Broadband service you get into your home
- DSL modem or cable
Note: You cannot start a network with an Eero 6 extender but it can be added to an existing one. However, 1st and 2nd generation Eero can be used to start a network.
You’re now completely aware of the prerequisites of the setup process. Therefore, we’re going to reveal how to get your Eero extender online.
How to Do Eero WiFi Extender Setup?
Walk through the instructions given below to set up the extender:
- First of all, download the free Eero iOS or Android app.
- The Apple App Store or Google Play Store will help you complete the first step.
- Launch the app as soon as it gets installed on your mobile phone.
- Now, you are required to create an Eero account using a phone number and email address.
- A verification code will be sent to your phone number.
- Enter the same code on the verification screen of the Eero application.
- Your account will be created.
- Now, unplug your modem and router from their respective wall sockets.
- Client devices accessing the modem or router also need to be disconnected.
- Connect your Eero to the modem using the Ethernet cable that you’ve received with the package.
- Now, plug your WiFi extender into an available power socket.
- The next step in the Eero WiFi extender setup is to power up the modem.
- The light on your WiFi extender will start flashing white.
- Now, start creating the Eero network by tapping the Next button on the mobile application.
- You might be asked to relocate your extender if its current location is not correct.
- Enter your extender’s serial number if prompted. It is written on the sticker at the bottom.
- Choose a network name [SSID] and password for your Eero.
- Avoid using the same SSID and password as your existing router. However, it will be okay if you’ve replaced the existing router with the Eero extender.
- Save the changes.
- You’re all caught up!
The Concluding Thought
This was all about how to do Eero WiFi extender setup. Once your extender starts extending the network, you can connect your client devices to the Eero network and gain access to a supersonic-speed internet connection.
However, do not forget to reconnect your existing WiFi router to the host modem if you’re not replacing it. Also, if you have a modem-router combo host device, it is suggested that you proceed to set up the Eero only after enabling the Bridge mode on the host device. If that is not supported, the network can also be set up in double NAT.

