How You Can Configure Orbi WiFi 6 Using Your Desktop?
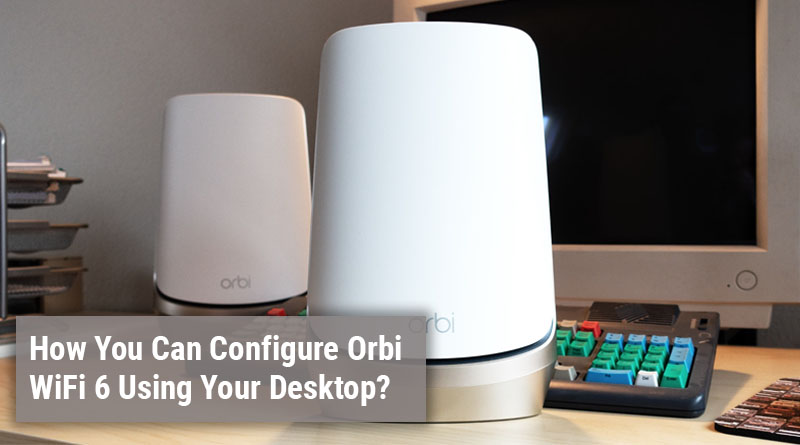
WiFi routers play an important role in human life. Routers provide internet services to internet devices, which we use in daily life. Orbi WiFi 6 is a router that has been distributed by Netgear brand in this world. Configuration of the Orbi router via the Orbi login credentials is pretty simple and easy. In this whole batch of paragraphs, we will walk you through a full comprehensive guide of how to setup Netgear Orbi WiFi.
Configuration Steps to Set Up Orbi Router
To complete the whole setup you have to log in to the web interface of the Orbi router. But first, connection with the modem is important, because the router will receive physical signals from the modem. Follow some of the simple paragraphs to establish connection between the modem and the router.
Connect the WiFi to Modem
To make connection to between WiFi router and modem, use the network cable that came with the router. Just connect one end into the LAN port of the modem and another one to the WAN port of the router. Then, wait for some time so that the router can update the settings regarding the connection with the modem. Now, turn on the modem first and then the router.
Log in to the Orbi
Logging into the Orbi 6 is a crucial part of the setup process. Just follow some simple points written below.
- At first, connect your computer to the WiFi network through Ethernet cable and start the computer.
- Open any web browser like Google chrome, Safari or Opera Mini. Then click on the address bar of the browser.
- Type in the login URL, that is orbilogin.net or orbilogin.com and press Enter key.
- This action will take you to the login page of the router’s interface.
- Here you have to write in you user details such as username and the password. Simply, use the user manual to login. Usually, the username is admin and the password is password.
- After this, you will able to manage the settings and networks of the router. Also you can change the existing password and name of the network.
As you can see the login process is very comfortable and simple. There is not only the way to log in to the router.
Login via Smartphone or iPhone
There are some simple steps to login via your smartphone, they are written below.
- Step1: Firstly, connect your internet device to the router’s network.
- Step2: Then open play store or app store if you are using iPhone.
- Step3: Just tap on the search bar and search Netgear Orbi app in the play store or app store.
- Step4: You will see the app download option. Also, you will see some information and instructions of the application. Go through it for once.
- Step5: Now, download the app and install it in your internet device.
- Step6: Open the app and it will take you to the login page of the Orbi router.
- Step7: Simply, type the username and the password on the blanks. You can use the user manual that comes with the WiFi router. Tap next.
You completed the login process via Orbi app using your phone. Now, you can access the settings and networks of the Orbi 6. Logging into the WiFi is an easy process but, technical issues can occur occasionally. So, some of the troubleshooting tips could help you.
Tip to fix technical issues
As you can see the setup of Orbi WiFi router is very straight forward process. But, sometime users face mini errors. To fix those small issues you can use some help from these short paragraphs written below.
Check Hardware Connections
Always check the hardware connections with the modem. Please use the Ethernet cable to establish connection between modem and router.
Use updated internet browser
Don’t use the outdated web browser. You can use any browser like chrome, internet explorer or safari. Clear the cookies and cache from the browser as well.
Conclusion
To set up and log in to the Orbi router, you can use this whole article. This blog contains configurations and login process steps via computer and phone with some troubleshooting tips. Now, from this blog you can easily setup Netgear WiFi 6.


