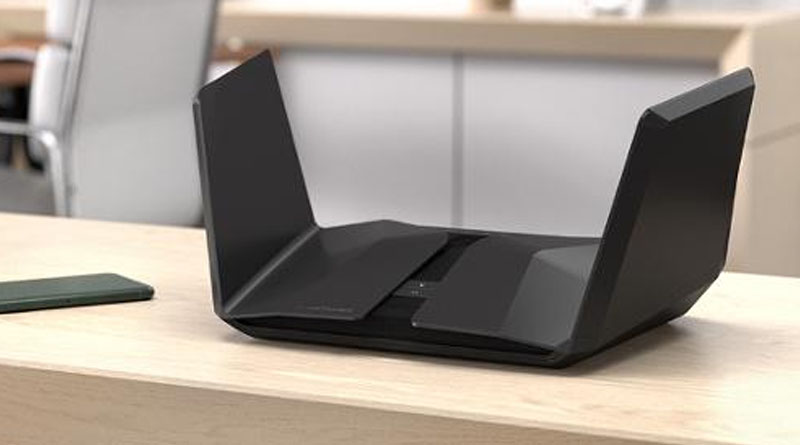
Want to Install Netgear Nighthawk AX12 WiFi Router? Let’s Do It!
Netgear Nighthawk AX12 WiFi router is a 12- stream dual- band WiFi 6 series router with 6 Gbps internet speed. If you have this router in your home, you will get super fast speed for better 4k HD streaming, gaming, or video conferencing. It also provides automatic shield of protection for all your connected internet devices with NETGEAR Armor. Installation of this router is an easy and important process, also accessing the Nighthawk login interface is a part of it. To set it up, just follow some of the simple paragraphs down below.
Setup – Netgear Nighthawk AX12 Router
Router Unboxing
The first step should be unboxing the router. The router box will includes an Ethernet cable, a power cord and a user manual in it.
Connecting Hardware Connection
You should have to connect your router to the modem first via Ethernet cable. You have to locate the LAN port and WAN port of the modem and the router, and connect the cable to them.
After that, you have to turn on the modem first and then the Nighthawk router. Now, the router is ready to connect with any device like computer, laptop and mobile.
After turning it on, you have to access the interface of the Netgear WiFi router. You can login using computer and smartphone.
Accessing the Netgear Nighthawk AX12 Router
There are two different ways that you can use to log in to the interface:
- Routerlogin.net
- Netgear Nighthawk app
Let’s see how you can reach the interface via computer using routerlogin.net.
Via Routerlogin.net
- You have to connect your computer to the router using an Ethernet cable to access the interface.
- After connecting the desktop, open any web browser on your computer.
- Then enter and search the login URL that is routerlogin.net into the address bar of the browser.
- You would see login page on the screen, where you have to write the default user details.
- Just enter admin as username and password as password or use the user manual to fill the blanks.
- Hit the Enter key. Then you will reach at the main dashboard of the interface.
- Here you can configure the settings and networks of the router. Also, you can update the router from this interface.
Now, let’s see how you can access the interface using your smartphone.
Using Netgear Nighthawk App
- To reach the login page, you have to connect your phone to the WiFi router wirelessly first.
- After connecting, open the Play Store app in your device.
- Then navigate the search bar on the top of the screen and search Netgear Nighthawk app on it.
- You will see the application on the screen, where the latest app version information will be given under the app.
- Just read the information of the latest version of the app and then download it.
- Install it and open the application, in it you have to enter the default user details.
- Write “admin” as username and “password” as password, or you can also use the user manual of the router.
- Now, you have reach at the main dashboard of the interface.
- Here, you can configure the settings of the Netgear Nighthawk AX12. You can also update the firmware of the router from here.
To update the firmware, you just have to follow some simple steps written below.
- To search and update the router, you have to locate and click on the settings option given on the top right corner.
- Then select Administration> Firmware. Here, you will see the firmware version details.
- Now, click on search option which is given on the bottom of the screen.
- Whenever update is available, then download and install it.
The installation process of the Netgear Nighthawk AX12 router is pretty simple and easy to complete.
The End Words
In the above mentioned paragraphs, you have learned how to setup the Netgear Nighthawk AX12 WiFi 6 router. Also, we have shared how to log in to the interface of the WiFi router via different methods. We hope you have successfully installed the Netgear WiFi router in your home, and enjoying the fast internet service.

